Python读取mnist
在做 TensorFlow和Python实现神经网络的时候,需要利用到一个MNIST数据集,数据集的格式是以
.idx1-ubyte后缀,包含60000个训练图像。将这些图像展示出来,需要利用到struct模块。
下载MNIST训练数据集
手动下载
下载链接为: http://yann.lecun.com/exdb/mnist/ 下载好之后解压就可以了,网站好像被墙了?
使用tensorflow自带下载
可以看到,这个地方是有监督学习1
2
3
4
5
6
7
8from tensorflow.examples.tutorials.mnist import input_data
# 下载mnist数据集
mnist = input_data.read_data_sets('/tmp/', one_hot=True)
# 数字(label)只能是0-9,神经网络使用10个出口节点就可以编码表示0-9;
# 1 -> [0,1.0,0,0,0,0,0,0,0] one_hot表示只有一个出口节点是hot
# 2 -> [0,0.1,0,0,0,0,0,0,0]
# 5 -> [0,0,0,0,0,1.0,0,0,0]
# /tmp是macOS的临时目录,重启系统数据丢失; Linux的临时目录也是/tmp
详细步骤
读取文件
1 | with open(filename ,'rb') as f1: |
还有另外一种常用的方法,两个方法目前来看没有什么区别。1
2f1 = open(filename , 'rb')
buf = binfile.read() # 先使用二进制方式把文件都读进来
跨过头部区域
train-images-idx3-ubyte
1 | TRAINING SET IMAGE FILE (train-images-idx3-ubyte): |
可以看到头部有4个integer 类型,设置image_index += struct.calcsize('>IIII')计算4个integer 值的位置,然后image_index 直接跳过去。至于为什么用IIII,愿意的话可以点击了解。
1 | temp = struct.unpack_from('>784B', buf1, image_index) |
最后那句np.reshape(temp,(28,28))是以下两句的缩写1
2im = np.array(im)
im = im.reshape(28,28)
train-labels-idx1-ubyte
可以看到头部有2个integer 类型,同理,label_index 直接跳过去。1
2
3
4
5
6
7
8
9
10TRAINING SET LABEL FILE (train-labels-idx1-ubyte):
[offset] [type] [value] [description]
0000 32 bit integer 0x00000801(2049) magic number (MSB first)
0004 32 bit integer 60000 number of items
0008 unsigned byte ?? label
0009 unsigned byte ?? label
........
xxxx unsigned byte ?? label
The labels values are 0 to 9.
显示图片
1 | plt.imshow(im , cmap='gray') |
应该就可以看到图片了,是一张5, 当然头部文件还是要有的1
2
3
4
5
6
7
8
9
10
11
12
13%matplotlib inline
import numpy as np
import struct
import matplotlib.pyplot as plt
path = 'E:\\Machine Learning\\train-images.idx3-ubyte'
with open(path,'rb') as f1:
buf1 = f1.read()
image_index = 0
image_index += struct.calcsize('>IIII')
temp = struct.unpack_from('>784B', buf1, image_index)
# '>784B'的意思就是用大端法读取784( 28*28 )个unsigned byte
im = np.reshape(temp,(28,28))
plt.imshow(im , cmap='gray')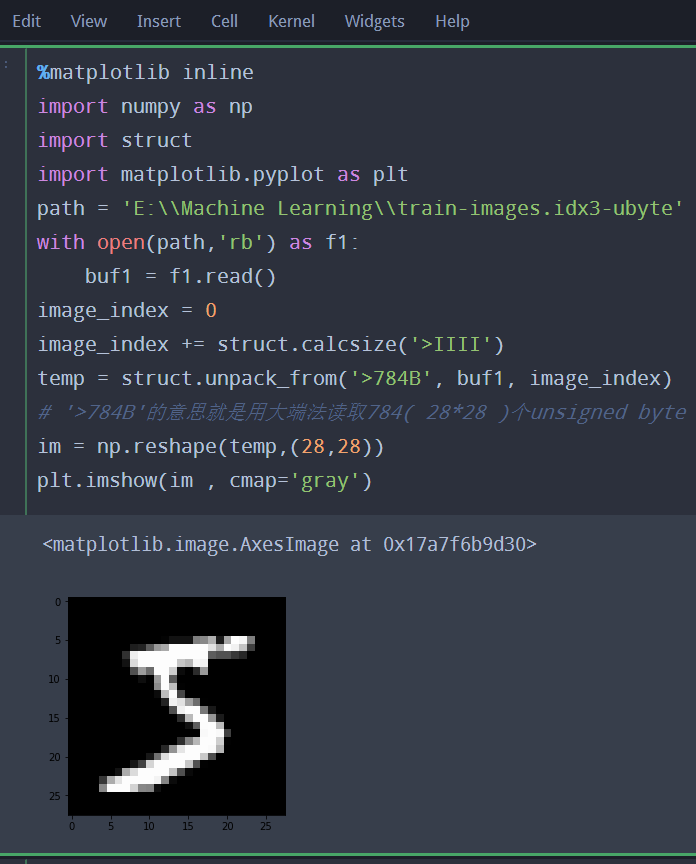
多张图片读取
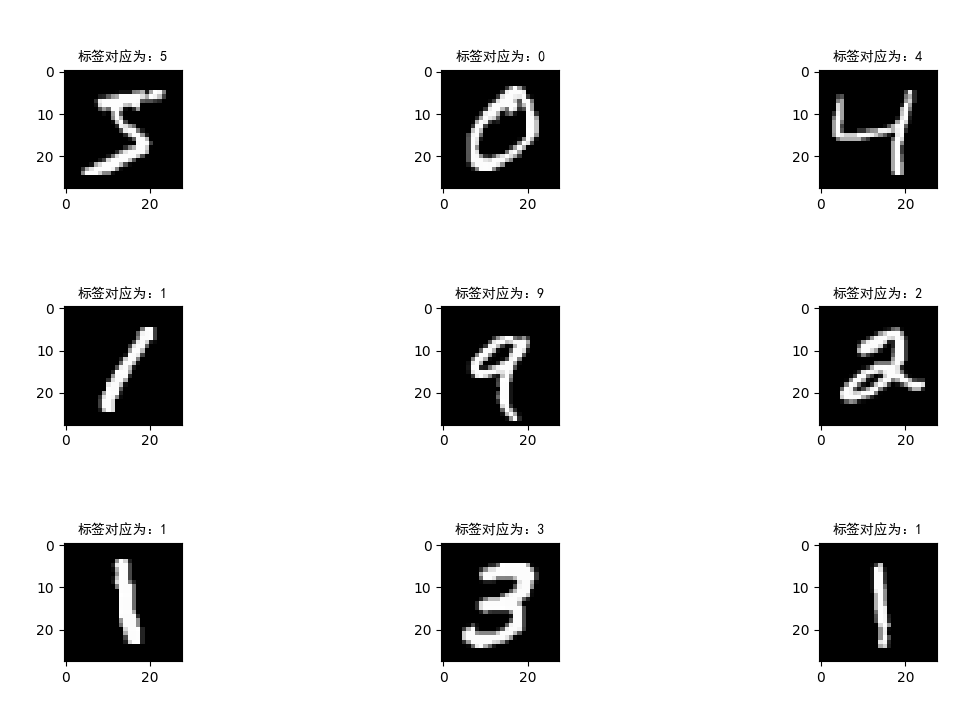
1 | # coding=utf-8 |
遇到的一些坑:
- 中文标题乱码的问题
1
plt.title(title, fontproperties='SimHei') # 后边这个字体**SimHei**加上就好了
- 标题内部不能用+
在外部加好之后,赋值给新变量,然后放进title即可
Python读取mnist