Ubuntu14.04+CPU+Python的Caffe安装教程
背景:手头只有一个win主机,虚拟机版本:Ubuntu14.04,目标是安装后CAFFE能作为PYTHON MODULE来使用,只使用CPU模式
安装开发所依赖的安装包
打开Ubuntu的终端,输入命令。1
2
3
4sudo apt-get install libprotobuf-dev libleveldb-dev libsnappy-dev libopencv-dev libhdf5-serial-dev protobuf-compiler
sudo apt-get install --no-install-recommends libboost-all-dev
sudo apt-get install libgflags-dev libgoogle-glog-dev liblmdb-dev
sudo apt-get install libatlas-base-dev
升级g++
1 | g++ --version |
查看g++版本,由于编译需要至少4.8版本的g++,一般来说,自带版本应该时4.8。如果想要升级g++,这里也提供以下下载方式,并且设置默认编译的g++为最新版本。1
2
3
4
5
6
7sudo add-apt-repository ppa:ubuntu-toolchain-r/test #用来添加库信息的帮助脚本。
sudo apt-get update #更新
sudo apt-get install gcc-4.9
sudo apt-get install g++-4.9 #更新g++,gcc
sudo ln -sf /usr/bin/gcc-4.9 /usr/bin/gcc #在调用的gcc库上做一个与最新版本的软连接,更改g++的默认版本。
sudo ln -sf /usr/bin/gcc-ar-4.9 /usr/bin/gcc-ar
sudo ln -sf /usr/bin/gcc-ranlib-4.9 /usr/bin/gcc-ranlib
安装anaconda,建议安装。
1 | wget https://mirrors.tuna.tsinghua.edu.cn/anaconda/archive/Anaconda3-4.3.1-Linux-x86_64.sh |
安装过程中记得一直选择默认的就行,傻瓜式安装。是否在bashrc中添加路径,这里选择“yes”就可以。忘了的话,解决方法很麻烦,自己查查吧。
安装OpenCV2.4(这个经常失败,建议跳过,不影响使用)
1 | git clone https://github.com/bearpaw/Install-OpenCV |
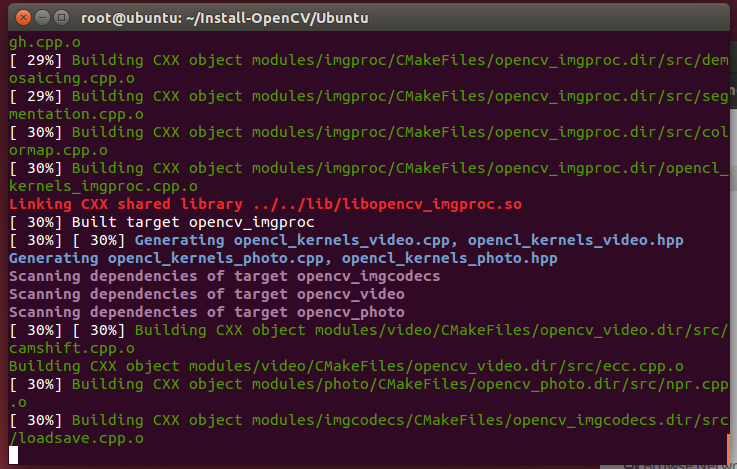
编译过程很慢,中间我还报过一次错,不得不重新来了一次。如果觉得难度不够的话,可以选择官网的安装包:http://opencv.org/,我这里是根据大神编译过的版本进行安装的。
安装atlas
1 | sudo apt-get install libatlas-base-dev #安装atlas简单易行。 |
编译Caffe
下载caffe
1 | cd ~ |
修改Makefile配置
1 | cd caffe |
- CPU_ONLY := 1
- 配置一些引用文件(增加部分主要是解决新版本下,HDF5的路径问题)
1 | INCLUDE_DIRS := $(PYTHON_INCLUDE) /usr/local/include /usr/include/hdf5/serial |
编译caffe
1 | make all -j8 |
另外, 这个make默认是用CPU单核运算,如果想要快一点, 比如我想使用四核, 在make后面加上-j4标签。
如果上面4行某一行报错之后想要重试,建议先make clean再重新开始。
更新安装依赖。
1 | cd caffe |
编译Python接口
打开新的终端, 用which Python和which pip
确定使用的是anaconda提供的python环境,然后进入caffe/python, 执行下列命令,
确保pip已经安装
1 | sudo apt-get install python-pip |
再次回到caffe根目录我们可以执行:
在caffe根目录的python文件夹下,有一个requirements.txt的清单文件,上面列出了需要的依赖库,按照这个清单安装就可以了。
在安装scipy库的时候,需要fortran编译器(gfortran),如果没有这个编译器就会报错,因此,我们可以先安装一下。
回到caffe的根目录,然后执行安装代码:
1 | cd ~/caffe |
安装完成以后,再次回到caffe根目录我们可以执行:1
sudo pip install -r python/requirements.txt
就会看到,安装成功的,都会显示Requirement already satisfied, 没有安装成功的,会继续安装。
编译python接口
1 | make pycaffe -j8 |
运行python
进入caffe/python ,运行1
2
3
4
5
6$ python2.7
Python 2.7.12 (default, Jul 1 2016, 15:12:24)
[GCC 5.4.0 20160609] on linux2
Type "help", "copyright", "credits" or "license" for more information.
import caffe
加入PythonPath
gedit ~/.bashrc
将export PYTHONPATH=/home/wing/caffe/python:$PYTHONPATH添加到文件最后。source ~/.bashrc 使更改生效。
这样,在其他地方打开python,也可以import caffe了。
出现过一个问题:
error :No module named google.protobuf.internal
解决方法是:sudo chmod 777 -R anaconda(文件夹) 改变权限 然后conda install protobuf
可以很方便的解决的问题
Ubuntu14.04+CPU+Python的Caffe安装教程